Hello, hello people! So I have never posted about any diy-s that I have done and I am ready to show you guys my skills.
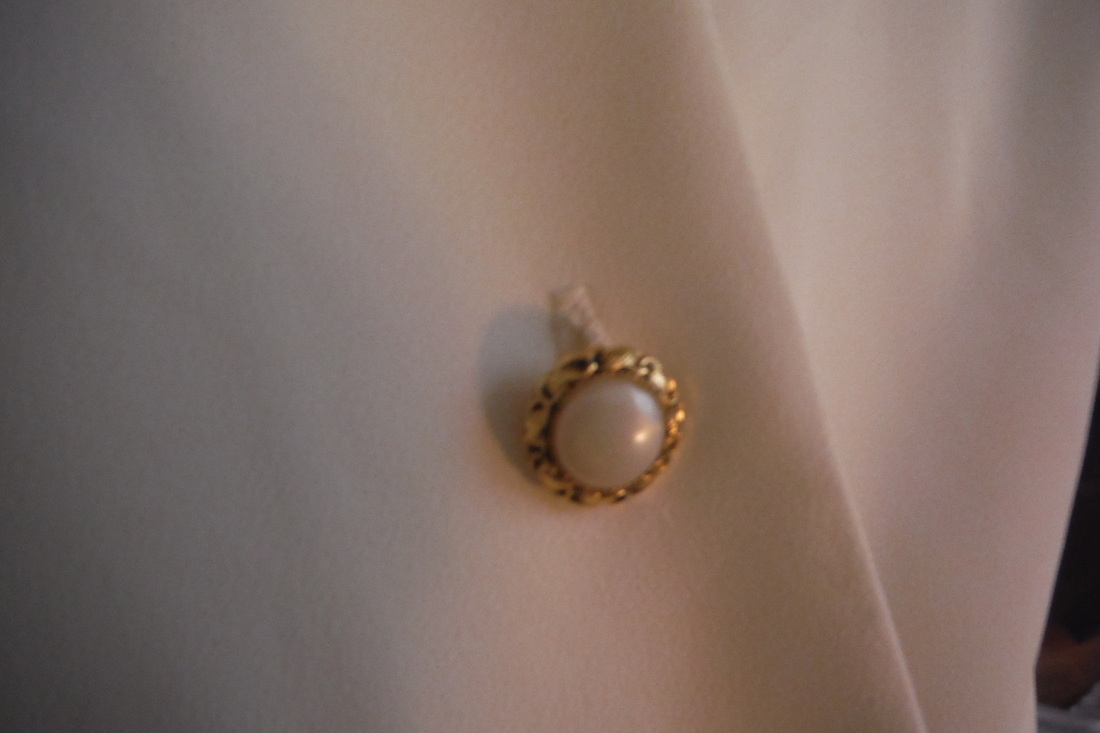
About a year ago, I bought a long sleeved, off white blouse that, for some reason, struck my fancy. I had been in a Victorian lace, vintage-y phase and the blouse had the coolest buttons. So I bought it, brought it home, and never wore it. Ever.
Today, I found it and cringed when I saw the pocket embroidery. If it weren't for those buttons I would have never bought this shirt in the first place!
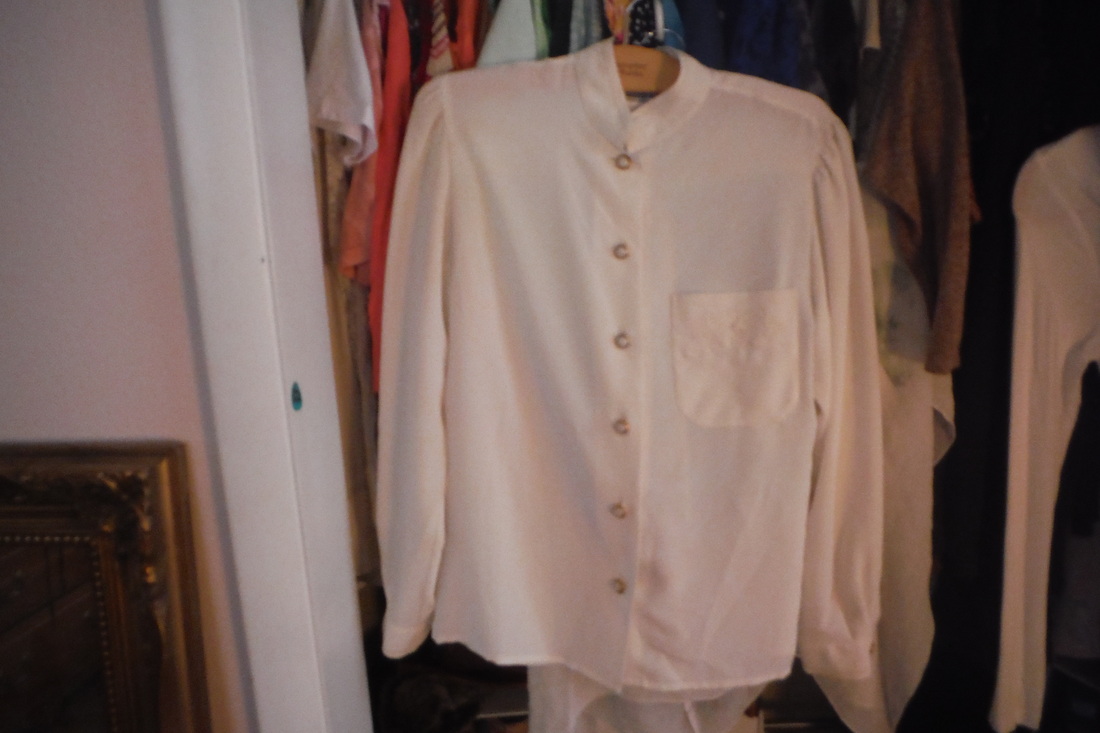
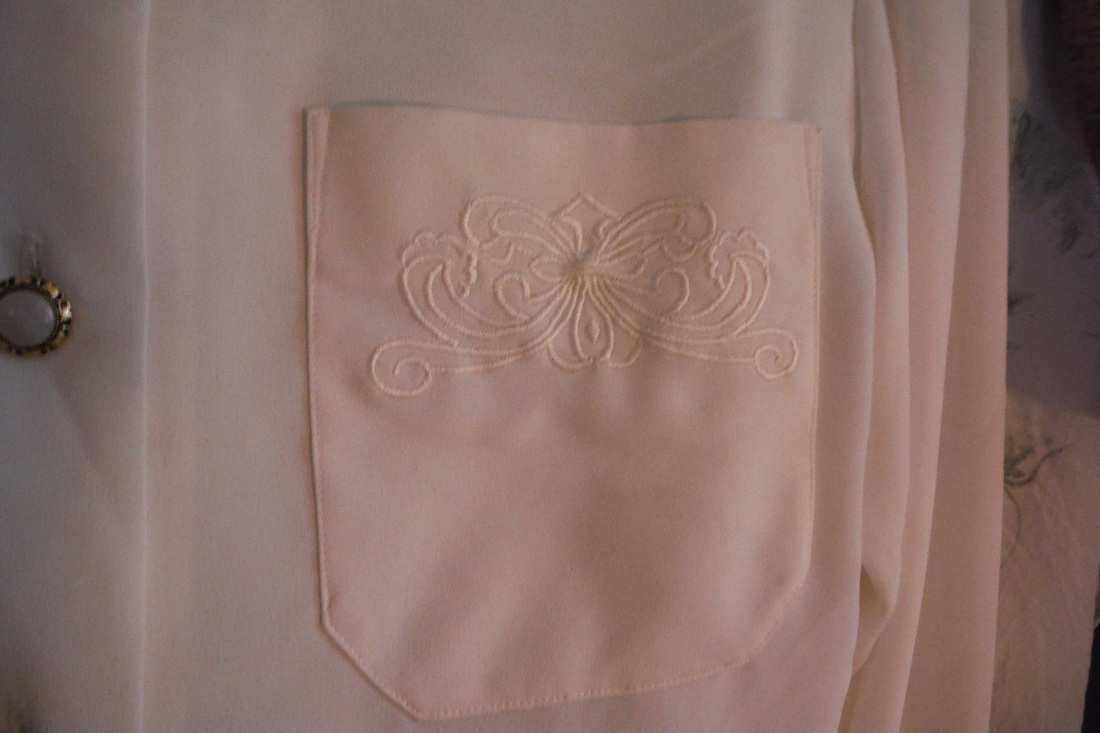
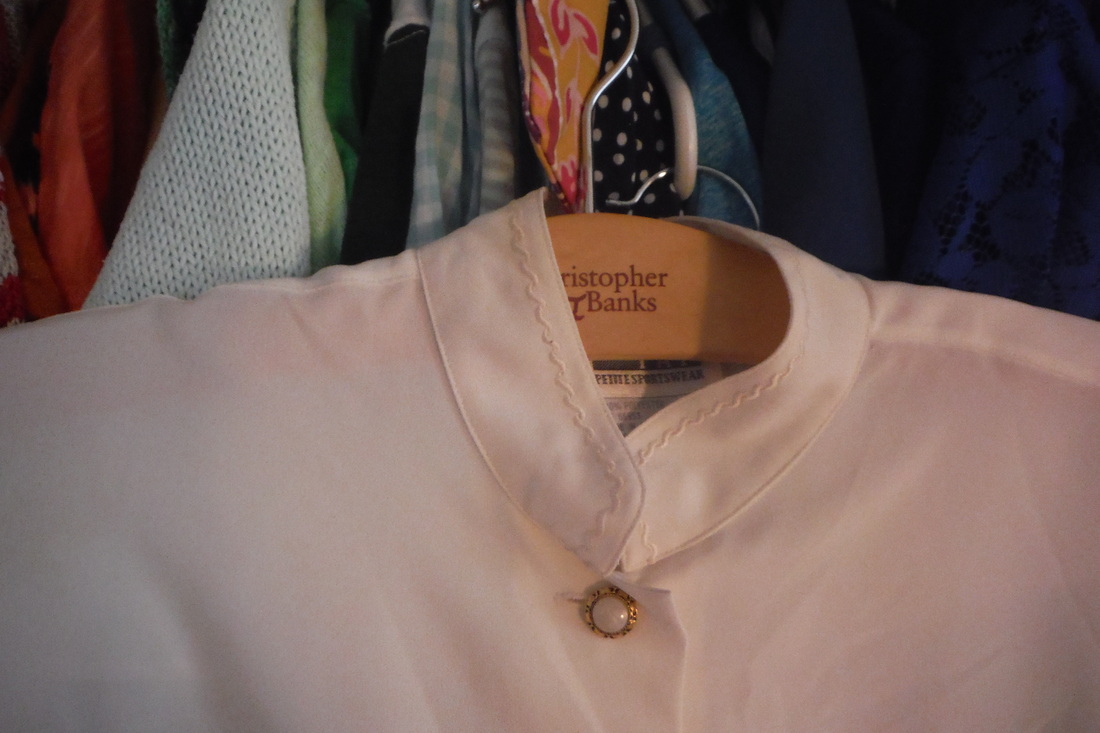
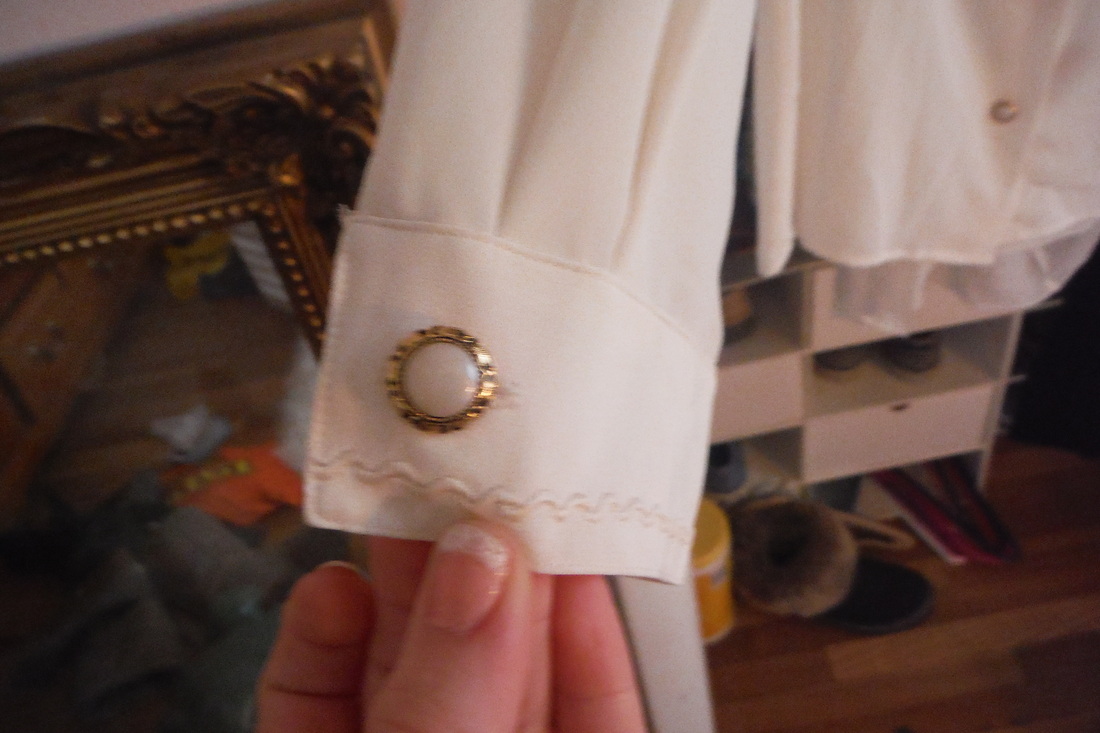
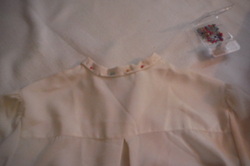
Oh the horror! Where do I begin with what is wrong with this blouse?! First off, the collar is horrid. It does not lay flat so the only thing to do with it is button up the shirt all the way. But I can't do that, no. Because if I did do that, I may get mistaken for Teddy Roosevelt or something. So now that I have gotten that out of the way, the cuffs are lined with this embroidered wave-like pattern that makes me feel like I should be on a boat. And that pocket. Of all the things they have done wrong to this poor blouse, the pocket embroidery is the worst.
Now that I have assessed the problem areas, I have to come up with a plan.
To take part in this much needed diy, you will need:
- One ugly blouse
- Scissors
- Straight pins of some sort
- A needle and thread
- Fabric to patch over that horrendous pocket
- And enough of the same fabric to cover the cuffs
To begin, we are going to pin the awkward collar down in the back with our straight pins. As you can see I have folded over the collar and pinned it down. The next step is to hand sew the edge of the collar down to the back of the shirt like we have just pinned down. I am just going to do a very quick stitch, only on where I have pinned. I don't know if you can tell but I have only pinned down about 7 inches of the collar and that is all I plan to sew down. This is just so the front of the collar lays flat without having to be all the way buttoned up.
Above you can see that I have hand stitched a line stitch which pulls the collar down enough in the back that it lays flat in the front. Woohoo! :)
Before we go on, I must say that I changed my mind about redoing the cuffs and just hacked off the sleeves completely. I did not take out the stitches or make a pretty hem either. I'm not positive what I'm going to do about the fluttery fringe that is left. I might leave it; it makes the shirt feel more rugged and like its supposed to be a tad ugly.
Before we go on, I must say that I changed my mind about redoing the cuffs and just hacked off the sleeves completely. I did not take out the stitches or make a pretty hem either. I'm not positive what I'm going to do about the fluttery fringe that is left. I might leave it; it makes the shirt feel more rugged and like its supposed to be a tad ugly.
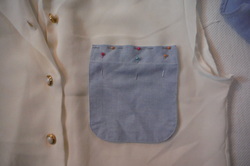
Now the next step is to hand sew your patch of fabric over that ugly pocket! I chose a pocket off of one of my dad's old work shirts. Pinned it on and it fits just perfectly! Buh-bye bad embroidery!
Note: There is alot of hand sewing in this project, I think I actually hand stitched all of it. So if you want to use a machine that is fine. I am not using my machine because sewing by hand gives it more of a handmade look which in my opinion gives the shirt more sentimental value. You could easily use a machine for most of the steps I have already instructed, especially the last one considering it took me like an hour and a half to do....

Here is the finished product!! :) I'm very pleased with the way it turned out! I hope yours turned out great as well!
XOXO,
Emily
XOXO,
Emily
 RSS Feed
